Run Report
To generate a report, go to Reports - Report Definitions, select the report and click  .
.
|
|
If you already have saved executions, the command will open a list with those. Click
|
Options when running the report:
-
Display now: This will open a pop-up with your report (make sure you allow pop-ups from the application on your browser).
-
Generate & save parameters: This will save the entire execution. You will be able to select the execution next time without setting the parameters again (see Report Execution Definitions for more details).
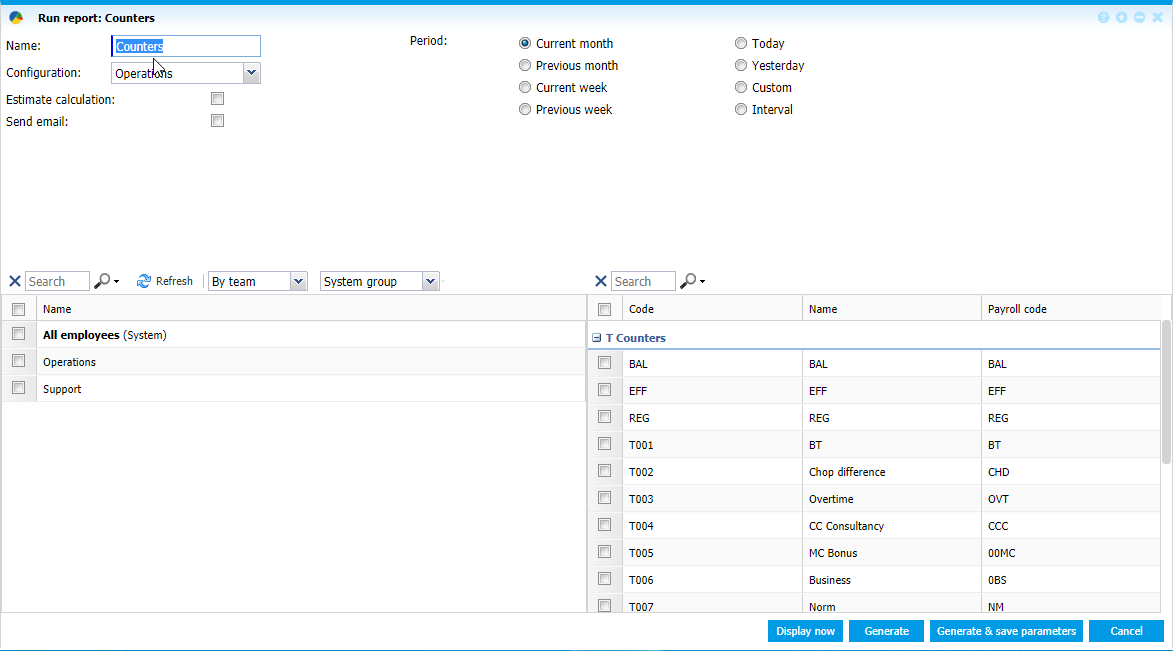
Run report window opens:
 |
|
Run report window in Reports Definitions in Astrow Web
|
The name of the report execution is set by default, but you can rename it. Please note that this refers to the execution.
Next, select the period to generate the report. Options:
-
Current month: The current month depending on the day of execution;
-
Previous month: The previous month depending on the day of execution;
-
Current week: The current week depending on the day of execution;
-
Previous week: The previous week depending on the day of execution;
-
Today: The current day depending on the day of execution;
-
Yesterday: The day before the day of execution;
-
Custom: Fixed interval, does not depend on the day of execution;
-
Interval: Custom interval, depends on the day of execution.
|
|
Please note that the report cannot be generated for a future period for anomalies!
|
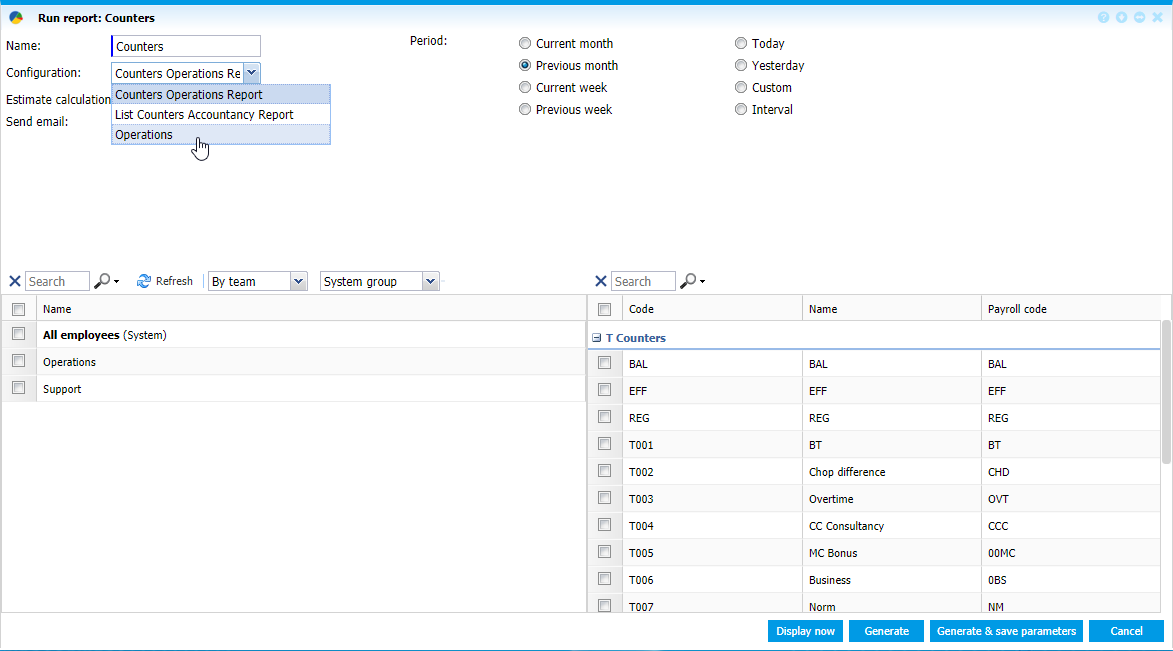
Next, choose one of the saved configurations to generate the report.
 |
|
Selecting a configuration to generate the report in Run report window in Reports Definitions in Astrow Web
|
Specific options:
For Holiday report you can choose the holiday period (previous year, current year, next year).
For Team absences report you have the possibility to group by person number or by absence. You can also display the deleted absences. For this you need to activate the option View deleted data from Settings - System - User interface.
For Employee report and all HR license reports you can also display employees by contract type.
For Bookings report you can select if you need all bookings to be displayed or only the first and the last.
Estimate calculation: if checked, the report will estimate the calculations for the rest of the period selected from the current day. This takes in consideration the Standard start/end settings in Day program definition for each employee.
Send email: if checked, the report will be sent by email to the person who ran the execution. The email will contain the report in html, csv and excel.
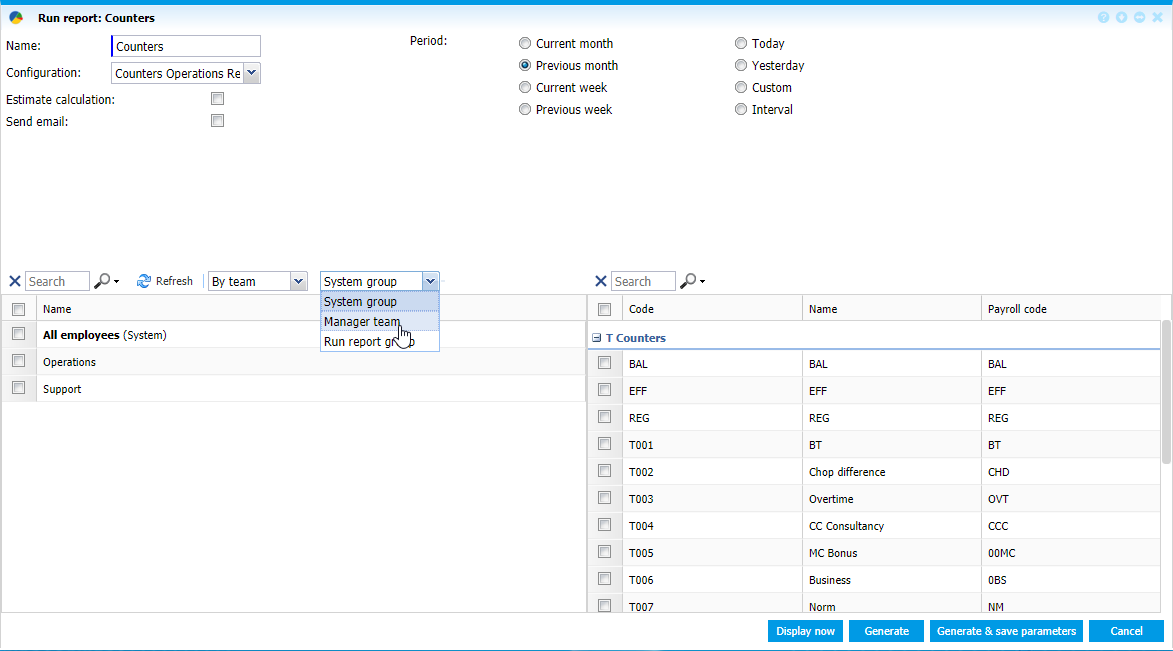
The report can be displayed by team or by employees. If you choose to generate it by team, you can choose the type of groups you want to display.
 |
|
Selecting the type of groups to generate the report in Run report window in Reports Definitions of Astrow Web
|
By default, the reports will be generated only for groups type System group.
|
|
For more details about types of groups, see Employee groups - Add, Edit and Delete an Employee Group.
|
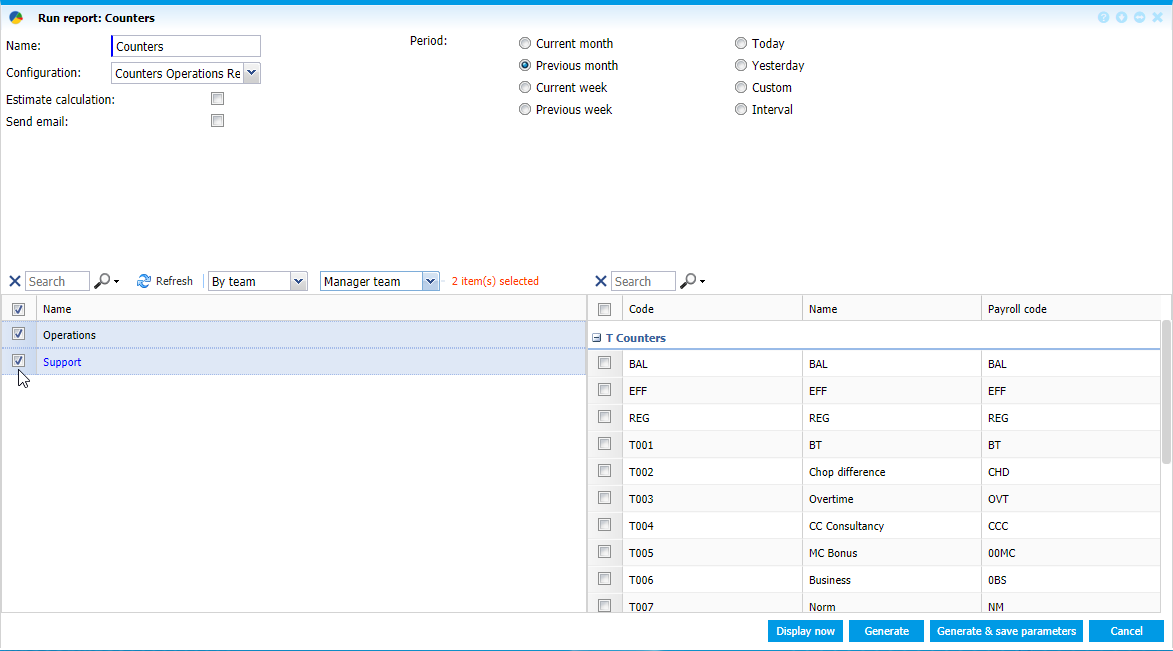
Select the teams for which you want to generate the report and click one of the options available.
 |
|
Selecting the group in Run report window in Reports Definitions of Astrow Web
|
In case you want to select only some employees, you can also choose the report to be displayed by employees.
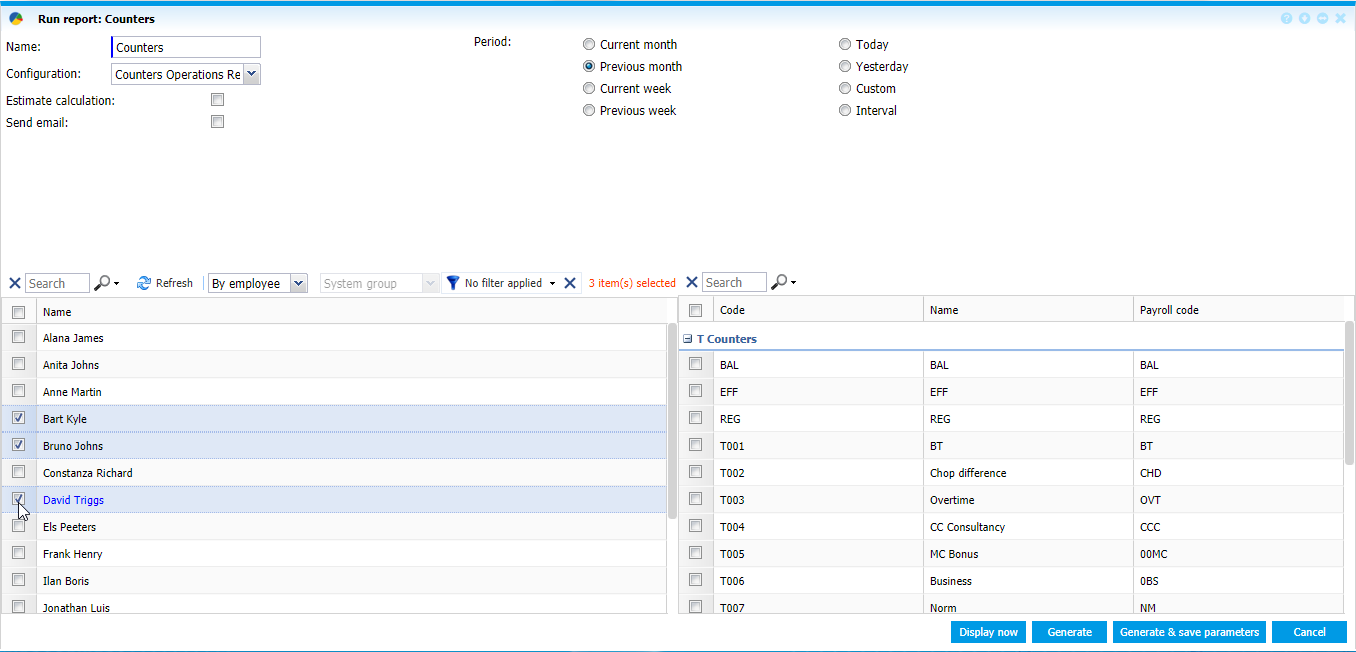 |
|
Selecting the group in Run report window in Reports Definitions of Astrow Web
|
You can manually select employees or add a new filter. Use the button  to create a custom filter of employees if none defined. Click
  to add a filter and
  to clear the existing filter.
Use the button  to create a set of conditions to apply to your filter and the button
  to delete conditions from a filter.
 |
|
Employees custom filter in Astrow Web
|
Use the button  to apply the selection without saving it or you can apply and save the filter by choosing the button
  :
:
 |
|
Saving an employees custom filter in Astrow Web
|
Click  to cancel the filter.
You can switch between filters, add, edit or delete filters from the dropdown command list.
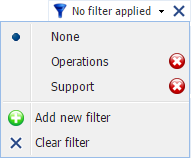 |
|
Employees custom filter dropdown command list in Astrow Web
|
Next select the items to be included in your report. Depending on the report chosen, it can refer to counters, anomalies, holidays or absences.
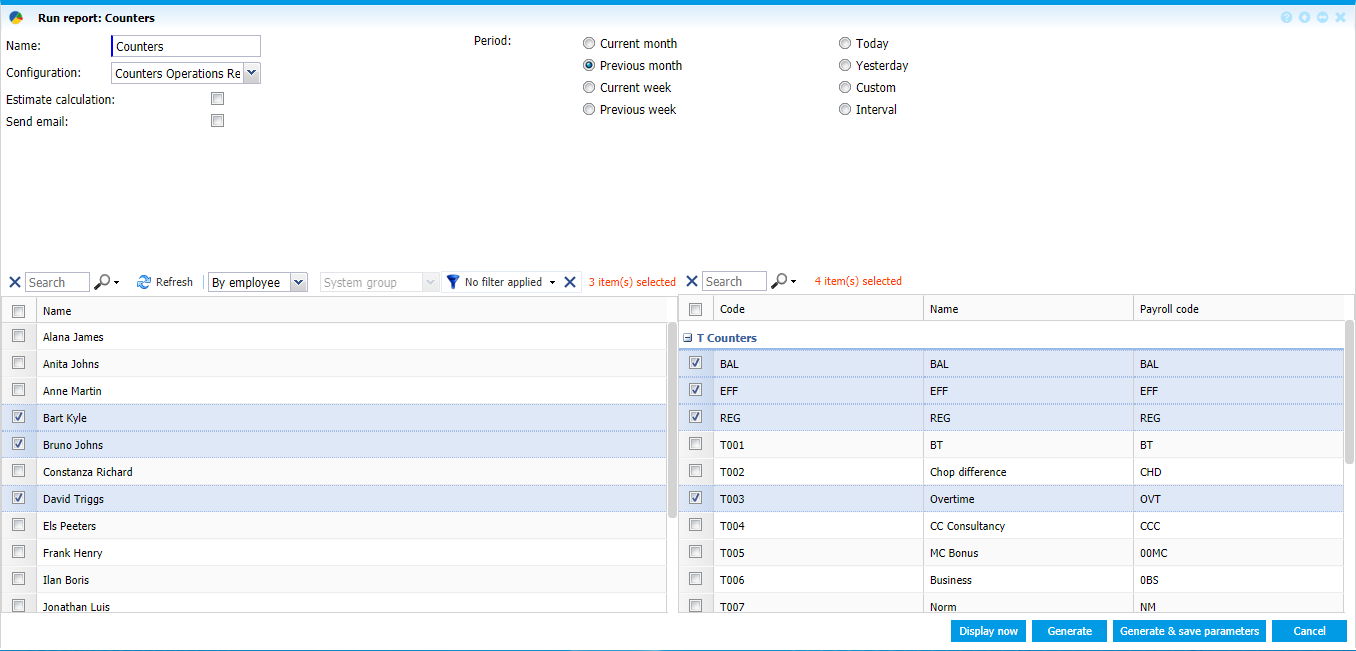 |
|
Selecting the report variables in Run report window in Reports Definitions of Astrow Web
|
Generate will store the report in Reports Archive. It is generated in html, CSV and Excel formats.
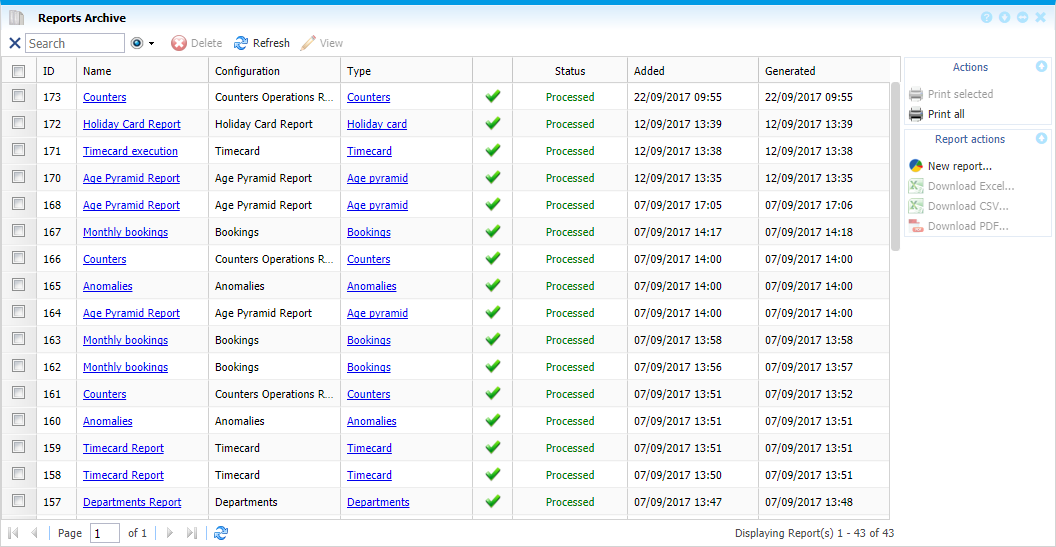 |
|
Saving a report in Reports Archive in Astrow Web
|
The window opens when generating the report. All the reports are saved here with a unique ID number (see Report Archive for more details).
Display now will display the report in html in a new window directly. This is used for a quick view. The report will be also saved in Reports Archive and can be accessed anytime later.
Generate & save parameter will also save the execution (see Report Execution Definitions for more details). This way the execution can be done next time without setting everything from the beginning. The application will ask to save the execution definition.
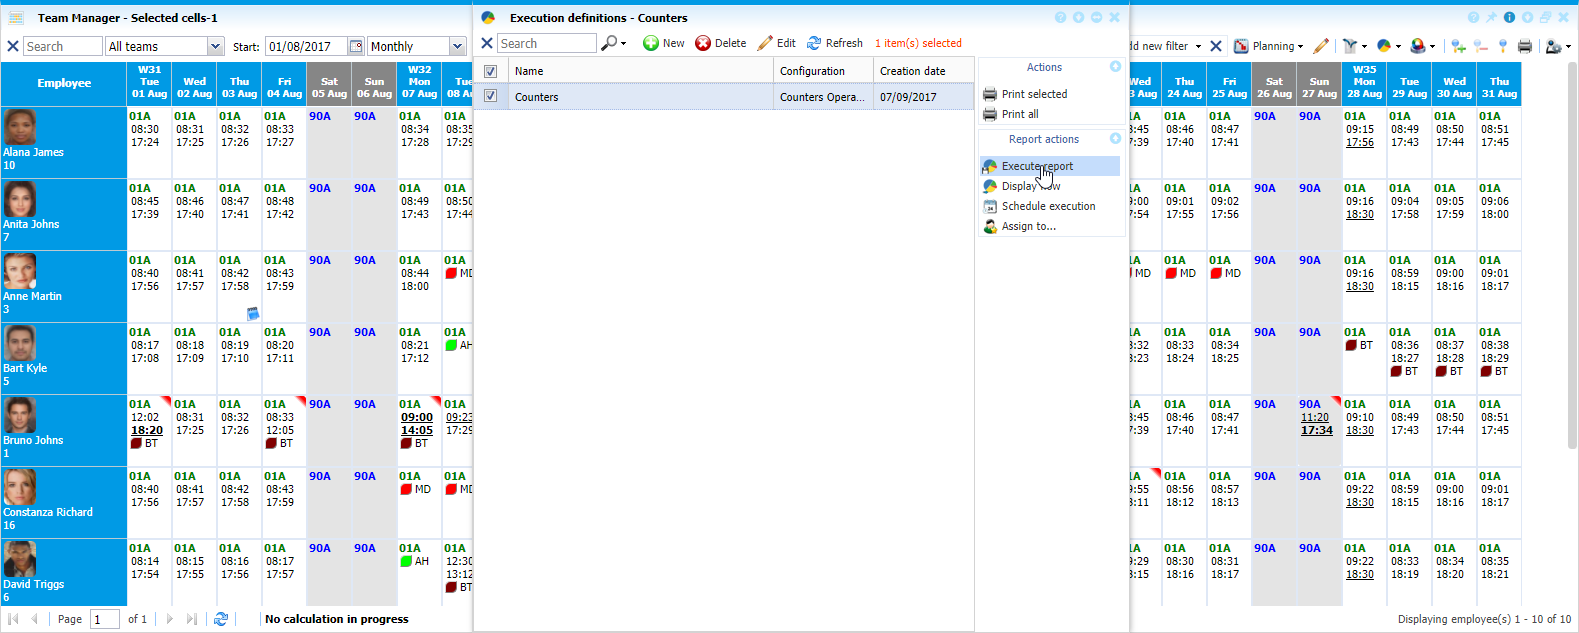
Reports can be run also from Operations - Team Manager, but for this they must be configured first.
 |
|
Generating a report in Team Manager in Astrow Web
|