|
|||||
 |
|
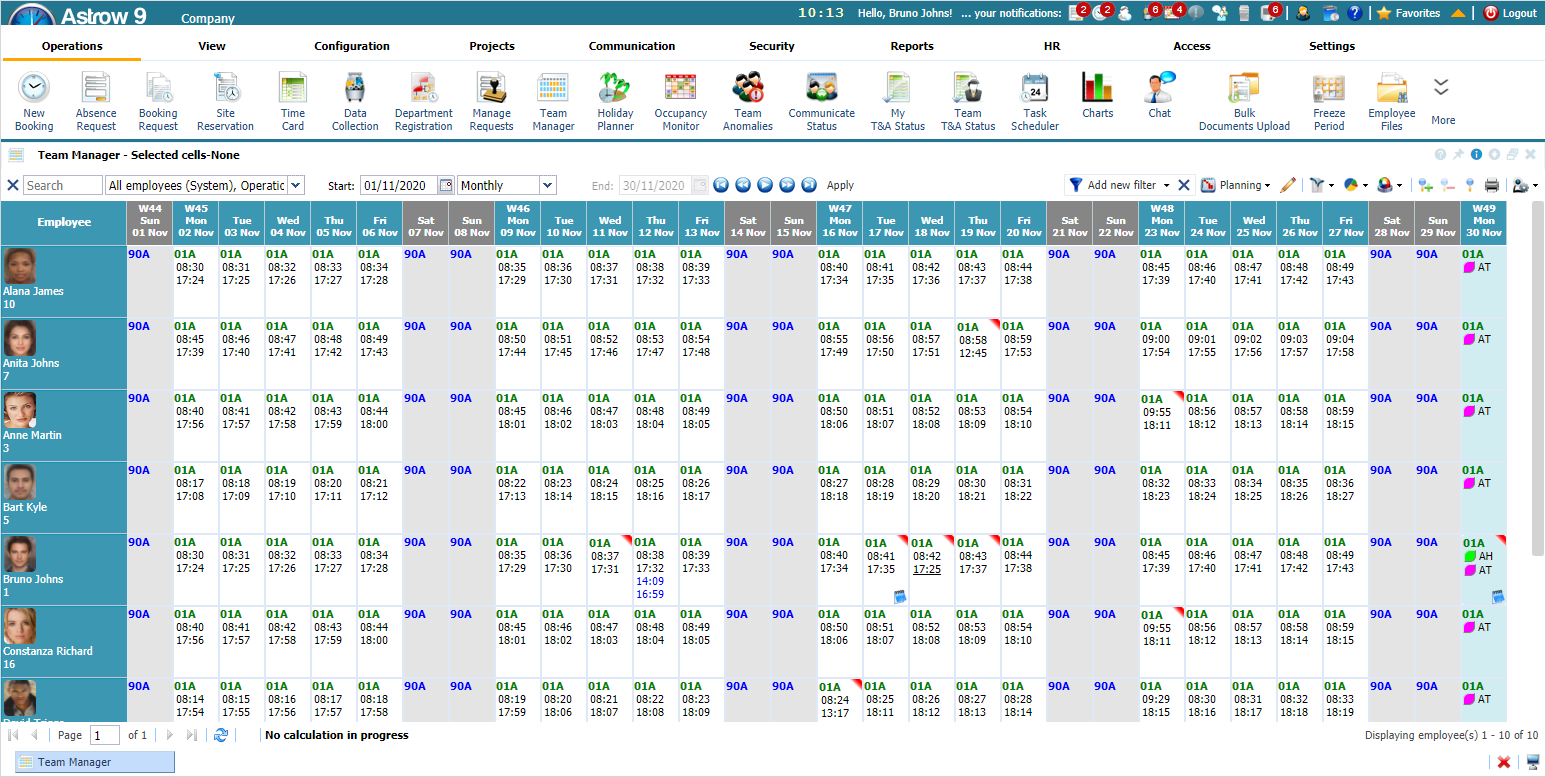
Team Manager in Astrow Web
|
|
|
Before generation, reports must be configured first in Reports - Report Definition - Report Configuration.
|
|
|
 |
|
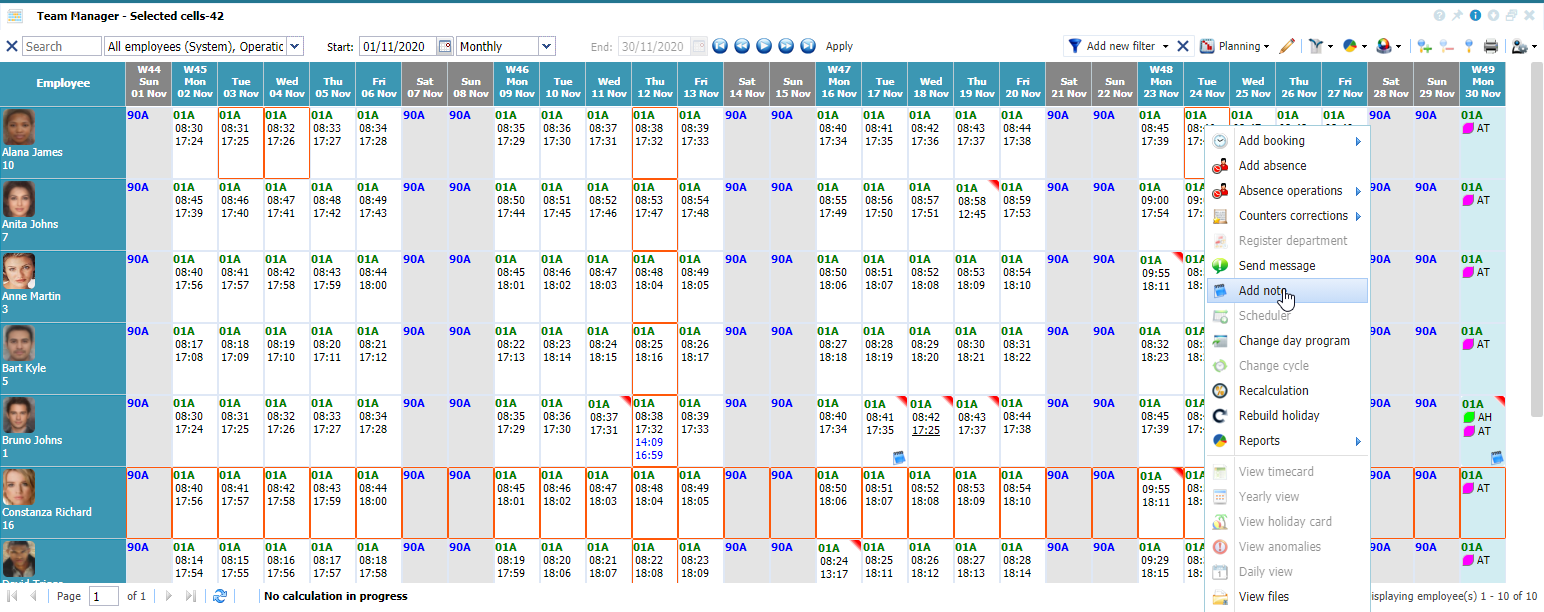
Team Manager in Astrow Web multi-cell selection
|
 |
|
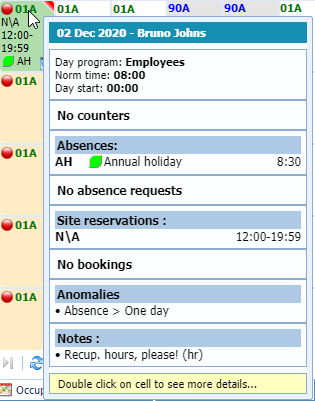
Tool-tip in Team Manager in Astrow Web
|
 |
|
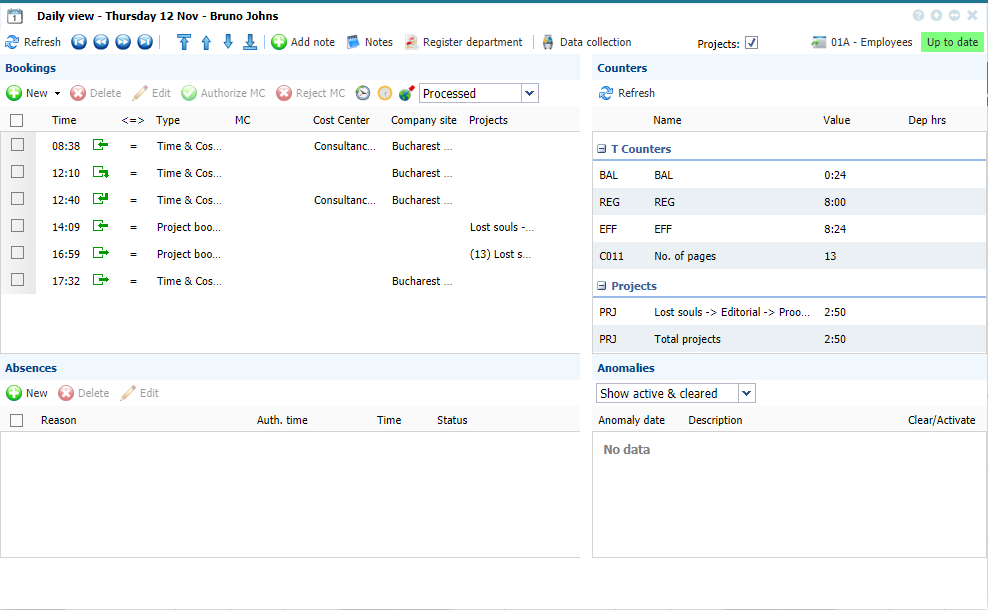
Daily view from Team Manager in Astrow Web
|
|
|
|
|
Single and multiple-cell add booking function;
|
|
|
|
|
Single and multiple-cell add project booking function;
|
|
|
|
|
Single and multiple-cell add absence function;
|
|
|
|
|
Add absence by period function;
|
|
|
|
|
Single and multiple-cell remove absence function;
|
|
|
|
|
Single and multiple-cell grant absence request function (with ESS license and Authorizer role);
|
|
|
|
|
Single and multiple-cell reject absence request function (with ESS license and Authorizer role);
|
|
|
|
|
View absence requests - link to Operations - Manage Request (with ESS license and Authorizer role);
|
|
|
|
|
Make corrections on daily counters;
|
|
|
|
|
Make corrections on periodic totals;
|
|
|
|
|
Split the daily counters values between departments;
|
|
|
|
|
Sending a message for one or more employees (single and multi-cell mode);
|
|
|
|
|
Add notes for one or more employees (single and multi-cell mode);
|
|
|
|
|
Opens the scheduler of a person (open in single-cell mode);
|
|
|
|
|
Single and multiple-cell change day program function;
|
|
|
|
|
Changing the cycle in single or multiple-cell mode for one employee;
|
|
|
|
|
Opens recalculation;
|
|
|
|
|
Opens reports configurations;
|
|
|
|
|
Opens an employee timecard (single and multi-cell mode for one employee);
|
|
|
|
|
Opens an employee yearly view (single and multi-cell mode for one employee);
|
|
|
|
|
Opens an employee holiday card (single and multi-cell mode for one employee);
|
|
|
|
|
Opens team anomalies – link to Operations - Team Anomalies;
|
|
|
|
|
Opens the daily view.
|
|
|
|
|
Opens employees files - link to Operations - Employee Files.
|
|
|
|
|
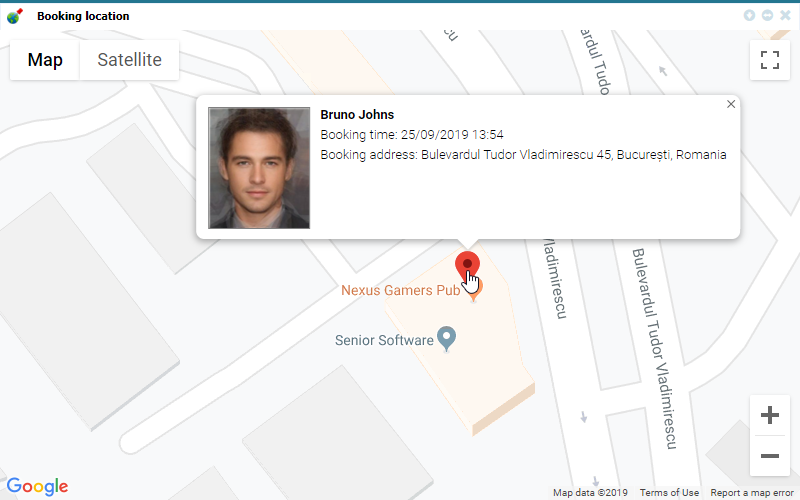
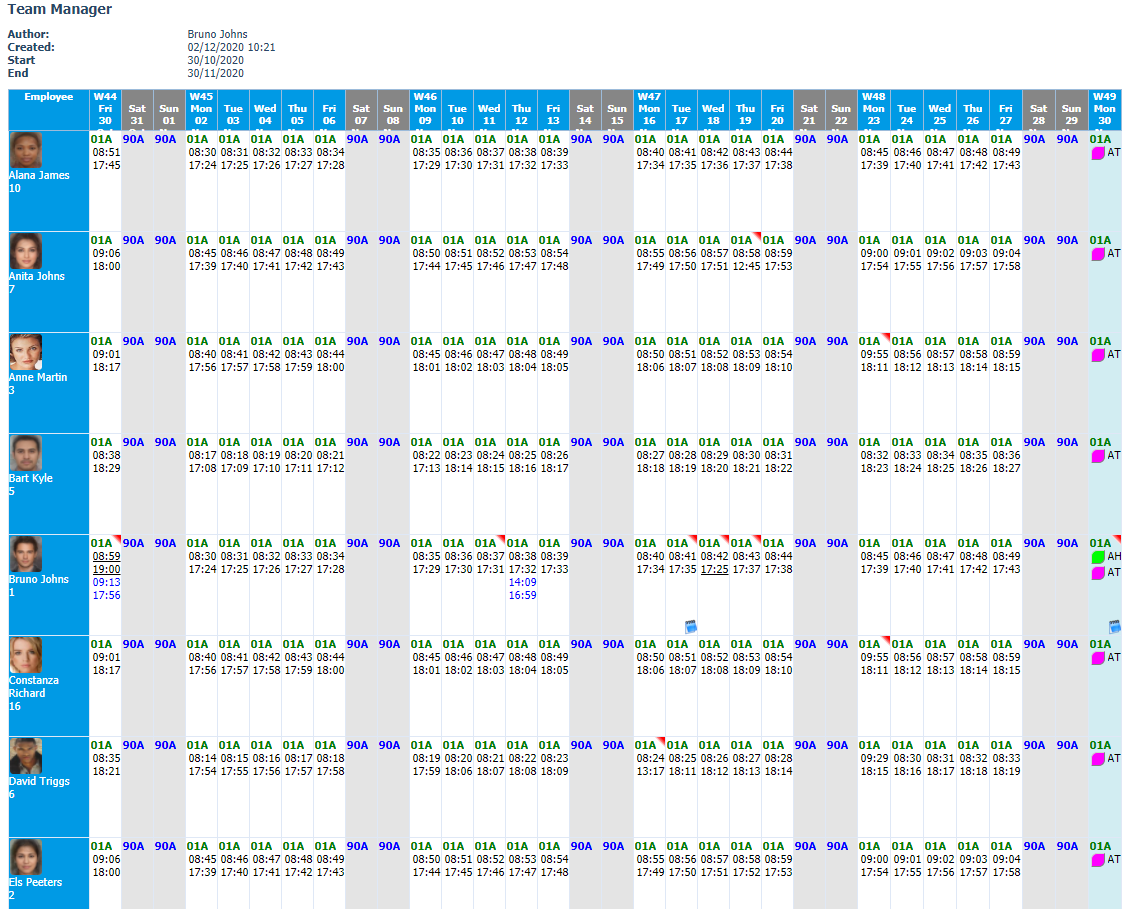
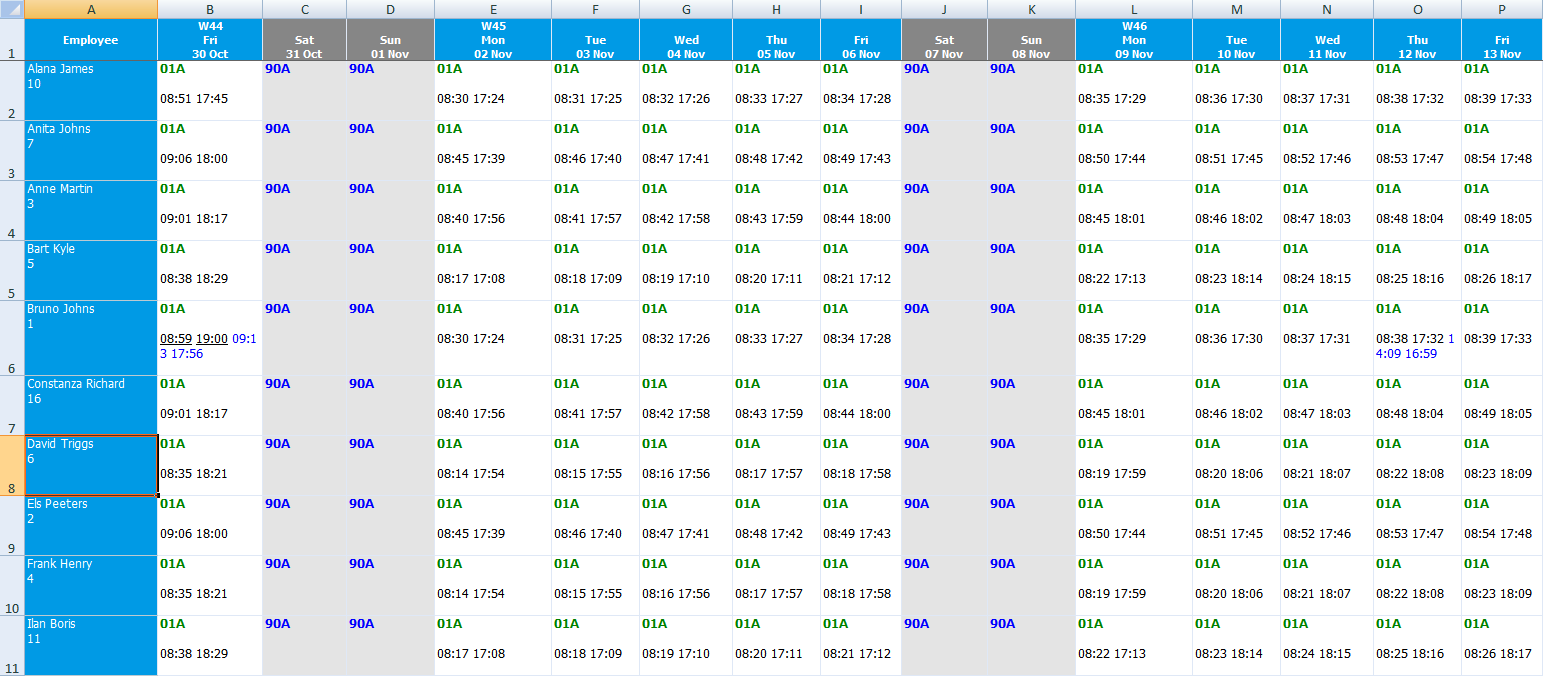
Displays the locations of all bookings from mobile for the selected cells (period):
 |
|
|
|
|
 |
|
|
|
 |
 |
|
|
|
Counters report – link to Reports - Report Definitions (execution or configuration);
|
|
|
|
Team absences report – link to Reports - Report Definitions (execution or configuration);
|
|
|
|
Team planning report – link to Reports - Report Definitions (execution or configuration);
|
|
|
|
Timecard totals report – link to Reports - Report Definitions (execution or configuration);
|
|
|
|
Timecard report – link to Reports - Report Definitions (execution or configuration);
|
|
|
|
Employees report – link to Reports - Report Definitions (execution or configuration);
|
|
|
|
Anomalies report – link to Reports - Report Definitions (execution or configuration);
|
|
|
|
Holiday card report – link to Reports - Report Definitions (execution or configuration);
|
|
|
|
Bookings report – link to Reports - Report Definitions (execution or configuration);
|
|
|
|
Suite legacy report – link to Reports - Report Definitions (execution or configuration); (see Suite Legacy Reports);
|
|
|
|
Supplementary hours report – link to Reports - Report Definitions (execution or configuration);
|
|
|
|
In-work rest break violation report – link to Reports - Report Definitions (execution or configuration);
|
|
|
|
Weekly rest report – link to Reports - Report Definitions (execution or configuration);
|
|
|
|
Average working report – link to Reports - Report Definitions (execution or configuration);
|
|
|
|
Daily rest report – link to Reports - Report Definitions (execution or configuration);
|
|
|
|
Age pyramid report – link to Reports - Report Definitions (execution or configuration); (extra license HR1);
|
|
|
|
Skills report – link to Reports - Report Definitions (execution or configuration); (extra license HR1);
|
|
|
|
Languages report – link to Reports - Report Definitions (execution or configuration); (extra license HR1);
|
|
|
|
Departments report – link to Reports - Report Definitions (execution or configuration);
|
|
|
|
Free items report – link to Reports - Report Definitions (execution or configuration); (extra license HR1);
|
|
|
|
Equipments report – link to Reports - Report Definitions (execution or configuration); (extra license HR1);
|
|
|
|
Personnel movements report – link to Reports - Report Definitions (execution or configuration); (extra license HR1);
|
|
|
|
Illness report – link to Reports - Report Definitions (execution or configuration); (Illness license)
|
|
|
|
Illness by gender report – link to Reports - Report Definitions (execution or configuration); (Illness license)
|
|
|
|
Project work detailed - link to Reports - Report Definitions (execution or configuration); (Projects license)
|
|
|
|
Project work by component - link to Reports - Report Definitions (execution or configuration); (Projects license)
|
|
|
|
Project work by activities - link to Reports - Report Definitions (execution or configuration); (Projects license)
|
|
|
|
Presence by interval - link to Reports - Report Definitions (execution or configuration);
|
|
|
|
Employee bookings number - link to Reports - Report Definitions (execution or configuration).
|
 |
|
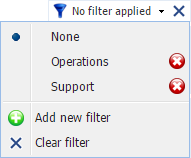
Employees custom filter in Astrow Web
|
 |
|
Saving an employees custom filter in Astrow Web
|
 |
|
Employees custom filter dropdown command list in Astrow Web
|
|
|
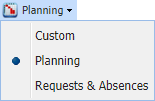
View configurations. There are 2 default view configurations, but you can add more or customize the existing ones (details here Team Manager Configurations Settings).
|
 |
|
|
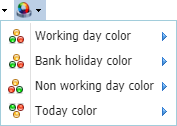
Cell customization:
a. Size - click on Cell size and choose a desired dimension from the ones available;
b. Working day color - click to select the color for working days;
c. Bank holiday color - click to select the color for bank holidays;
c. Non working day color - click to select the color for non-working days.
d. Today color - click to select the color for the current day.
|
 |
|
|
You can also maximize or minimize the cell size.
|
|
|
|
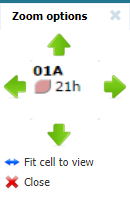
You can zoom the cells in, out, left and right or fit the cells to entire view:
 |
|
 |
|
Changing view settings in Team Manager in Astrow Web
|
|
|
A searching tool by personal number, employee number or name;
|
|
|
|
Print button;
|
|
|
|
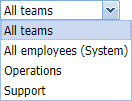
A drop-down menu that helps you select the team / department / group you want to see (if more than one).
|
 |
|
|
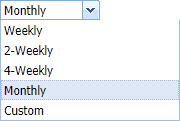
A drop-down menu for the period type you want to display.
|
 |
|
|
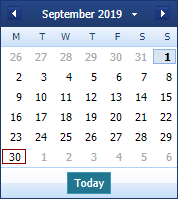
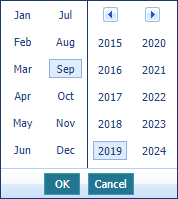
Calendars for starting date and ending dates.
Choose the starting date (and ending date for customized periods) for a calendar displayed.
You can search through previous month
The button
|
  |
|
|
Navigation buttons for time periods:
Click
|
|
|
|
Navigation buttons for pages:
|
|
|
|
Refresh button
|
|